In this tutorial, we will launch a Nettica VPN Server in AWS. The server has a 5-day free trial and requires minimal configuration to get you up and running. The server is configured with our basic authentication OAuth2 provider, which authenticates against the shadow file. As your needs grow, you can reconfigure it for OAuth2 authentication against your own IdP, such as Google Workspaces or Microsoft Entra ID.
Subscribe to the Image
The first step is to subscribe to the image. Find the image you’d like to launch from the Cloud Services page. For this example, we’re choosing the Nettica VPN Server 2.0 on Ubuntu 22.04 for AWS and provisioning a t3.large.
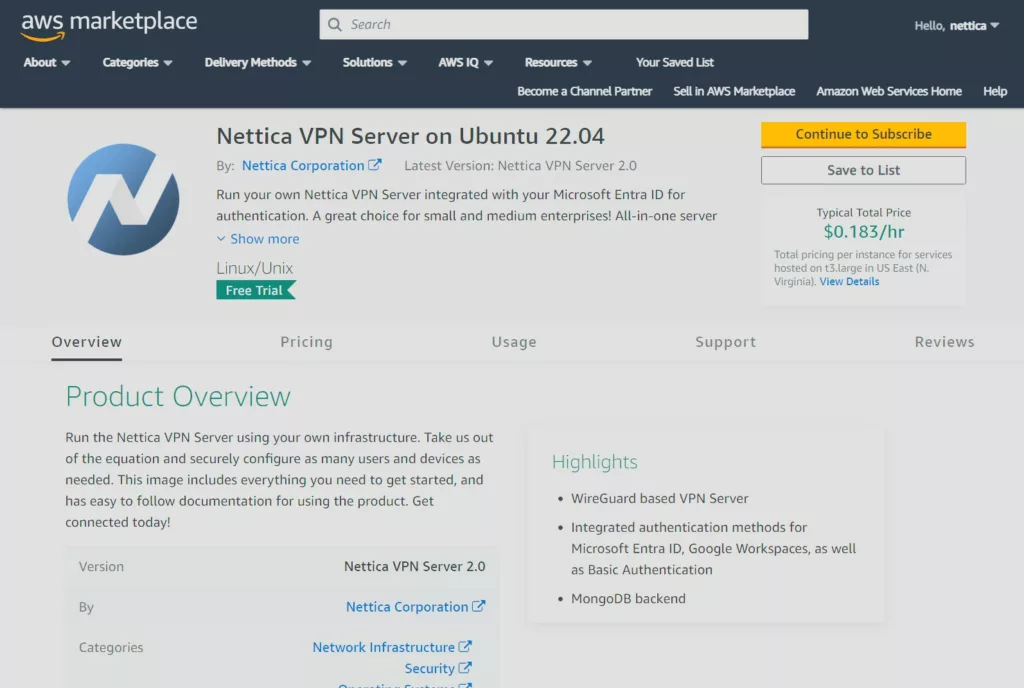
After subscribing, continue to configuration:
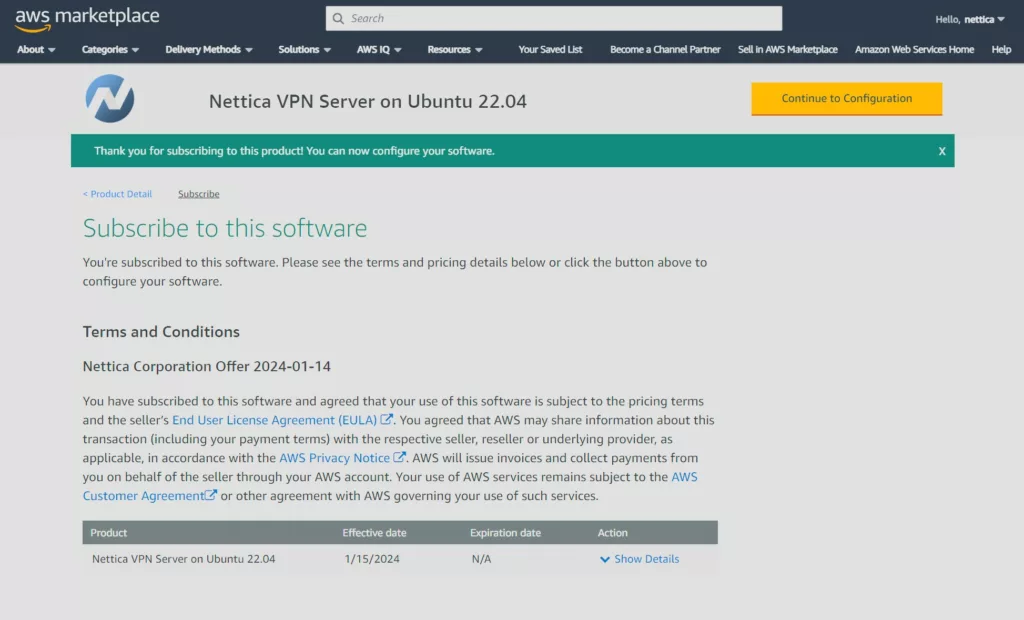
And choose the location to launch the instance, among other things:
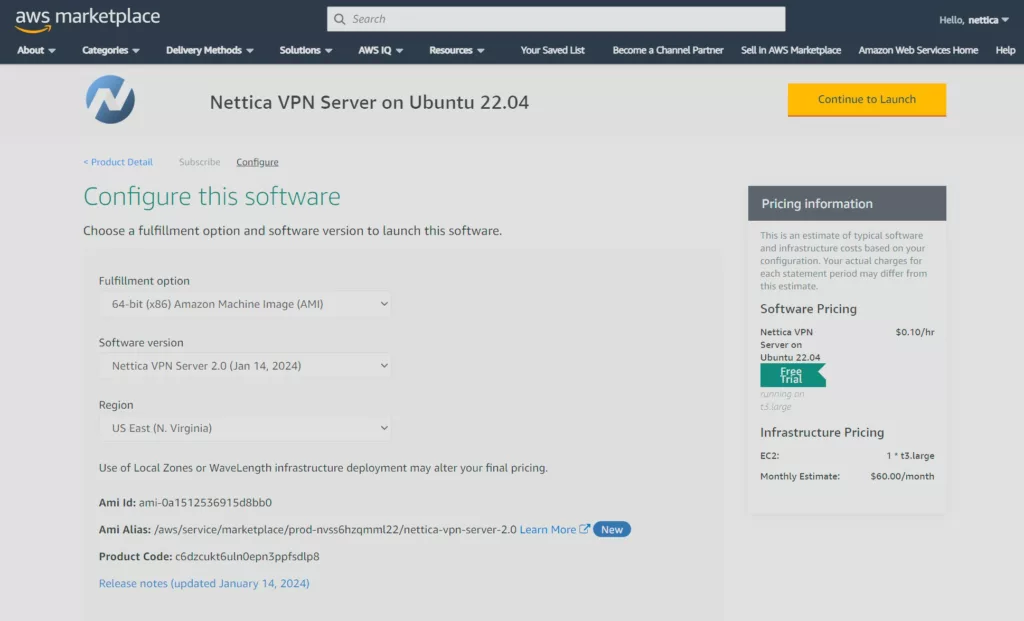
Continue to Launch
After making your selections, click Continue to Launch. Be sure to have access to the key pair you use to launch the instance. Choose the pre-configured security group during the launch process. The only open ports are those required: 22 (SSH), 80 (HTTP), 443 (HTTP), 3389 (RDP), and 51820/UDP (WireGuard). The instance has both the Nettica VPN Server and the Nettica Agent installed, so you can also use this image as both the server and a relay and tunnel.
Login
After the instance is running, log in using SSH with the keypair specified during launch.
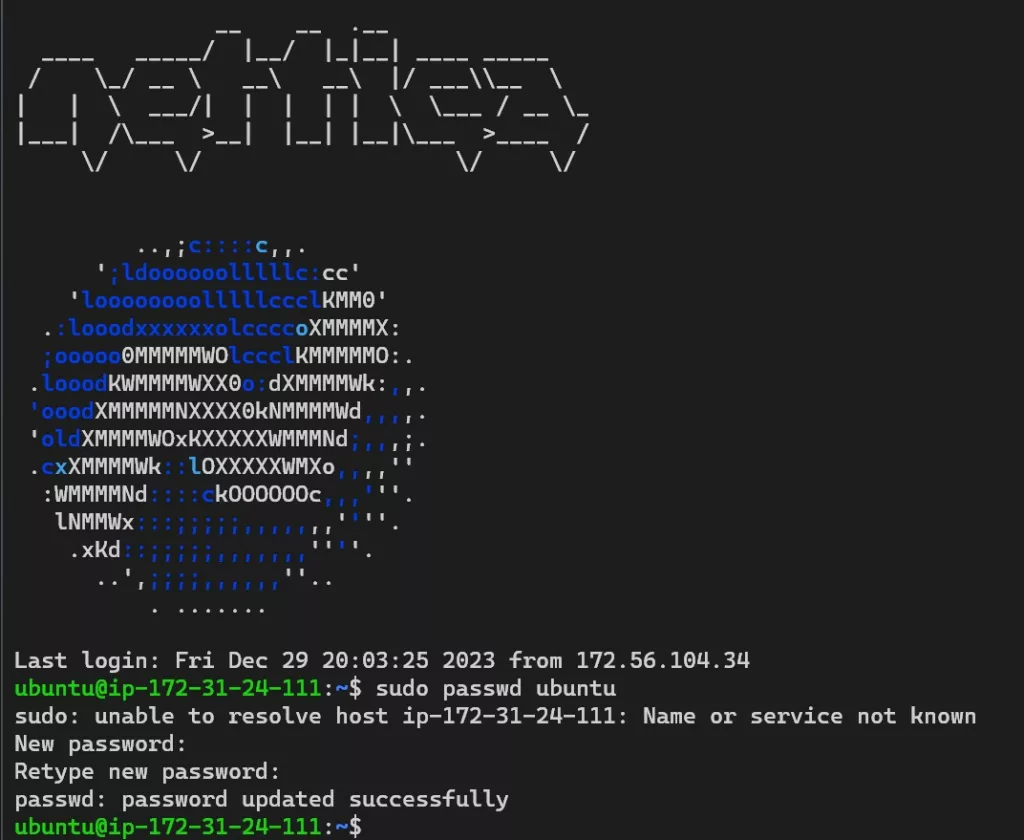
Use the command above to set the password for the default user (ubuntu). You can now log in to the Nettica VPN Server using HTTP and the instance’s IP address. But let’s do a little more configuration first.
Create a DNS Record for the Server
Go to your DNS provider for your domain and create a new A record pointing to the IP address of the instance. How to do this is out of the scope of this documentation. However, we recommend using the hostname “vpn” or “nettica”.
Update the Code
Optionally, you can update the server to the latest version. This step is highly recommended.
# These commands are for reference.  The server gets frequent stable updates
sudo su
apt update; apt upgrade -y
# Upgrade and fixup golang
snap install go --classic
rm /usr/bin/go
rm /usr/bin/gofmt
ln -s /snap/go/current/bin/go /usr/bin/go
ln -s /snap/go/current/bin/gofmt /usr/bin/gofmt
cd /usr/share/nettica-admin
# Get the lastest sources
git pull
cd cmd/nettica-api
# Build
go build
cd ../../ui
npm install
npx update-browserslist-db@latest
npm run build
systemctl restart nettica-api
Update the Configuration
After creating the DNS record, let’s add it to the configuration. In this example, we’re using test.nettica.com for the hostname.
sudo su
cd /usr/share/nettica-admin
nano .env
SERVER=https://test.nettica.com
# Replace the first line of the file with the DNS hostname you created

Use Ctrl-X to save the file
# restart the server
systemctl restart nettica-api
Configure SSL Certificate
The out-of-the-box configuration comes with Nginx installed, pointing to the Nettica VPN Server using HTTP. However, this should be upgraded to a secure connection. So, let’s use certbot to update the Nginx configuration. It is already installed.
root@ip-172-31-50-62:/usr/share/nettica-admin# certbot
Saving debug log to /var/log/letsencrypt/letsencrypt.log
Enter email address (used for urgent renewal and security notices)
 (Enter 'c' to cancel): [email protected]

- - - - - - - - - - - - - - - - - - - - - - - - - - - - - - - - - - - - - - - -
Please read the Terms of Service at
https://letsencrypt.org/documents/LE-SA-v1.3-September-21-2022.pdf. You must
agree in order to register with the ACME server. Do you agree?
- - - - - - - - - - - - - - - - - - - - - - - - - - - - - - - - - - - - - - - -
(Y)es/(N)o: y

- - - - - - - - - - - - - - - - - - - - - - - - - - - - - - - - - - - - - - - -
Would you be willing, once your first certificate is successfully issued, to
share your email address with the Electronic Frontier Foundation, a founding
partner of the Let's Encrypt project and the non-profit organization that
develops Certbot? We'd like to send you email about our work encrypting the web,
EFF news, campaigns, and ways to support digital freedom.
- - - - - - - - - - - - - - - - - - - - - - - - - - - - - - - - - - - - - - - -
(Y)es/(N)o: n
Account registered.
Please enter the domain name(s) you would like on your certificate (comma and/or
space separated) (Enter 'c' to cancel): test.nettica.com
Requesting a certificate for test.nettica.com

Successfully received certificate.
Certificate is saved at: /etc/letsencrypt/live/test.nettica.com/fullchain.pem
Key is saved at:         /etc/letsencrypt/live/test.nettica.com/privkey.pem
This certificate expires on 2024-04-13.
These files will be updated when the certificate renews.
Certbot has set up a scheduled task to automatically renew this certificate in the background.

Deploying certificate
Successfully deployed certificate for test.nettica.com to /etc/nginx/sites-enabled/default
Congratulations! You have successfully enabled HTTPS on https://test.nettica.com

- - - - - - - - - - - - - - - - - - - - - - - - - - - - - - - - - - - - - - - -
If you like Certbot, please consider supporting our work by:
 * Donating to ISRG / Let's Encrypt:   https://letsencrypt.org/donate
 * Donating to EFF:                    https://eff.org/donate-le
- - - - - - - - - - - - - - - - - - - - - - - - - - - - - - - - - - - - - - - -
root@ip-172-31-50-62:/usr/share/nettica-admin#
Login Securely with your Browser
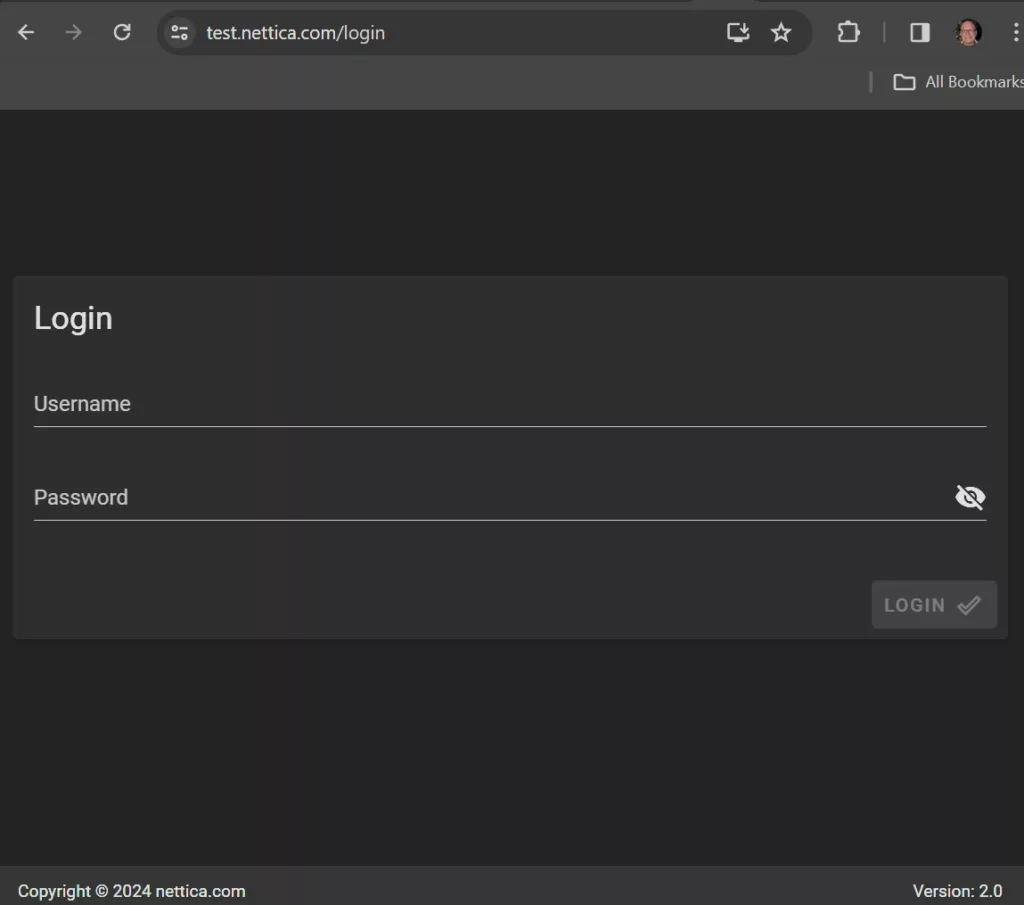
You can now securely log in using your browser.
Launch Remote Desktop
The image includes a desktop you can remote into. It has Nettica Agent, Firefox, and Visual Studio Code installed—everything you need to work with the server.
Open Remote Desktop by typing “mstsc.exe” into the start menu of Windows. Enter the IP address or DNS name of the instance and click Connect.
Enter “ubuntu” for the user and the password you just created. After a moment, the desktop will appear.
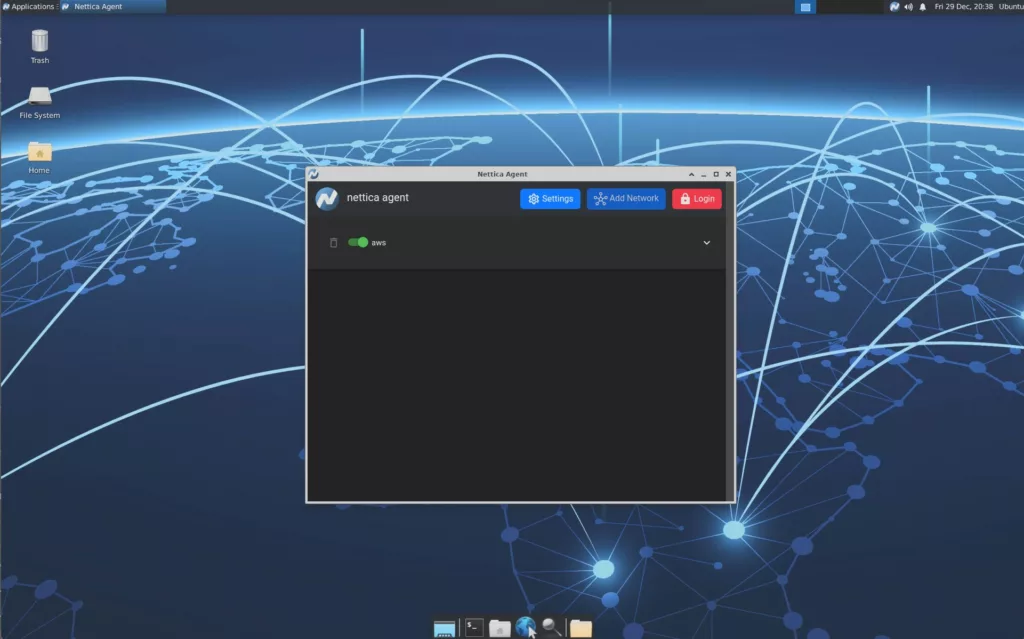
Click “Internet” and then “Nettica Agent” from the Applications menu to launch the Nettica Agent. Go to settings and update the configuration to point to your new server.
Configuring Nettica Agent
Launch the Nettica Agent and click on “Settings”. Update the server to point to your new server. You can now immediately click “Login” and authenticate against the server using our basic authentication OAuth2 provider. Once authenticated, click “Add Network” and add the device to your server.
Conclusion
This tutorial taught us how to launch and securely configure a cloud instance of the Nettica VPN Server in AWS. With a minimal number of configuration updates, we securely configured all of the features necessary to use your own VPN server. From here, you can install Nettica Agents and point them to your server using the Settings button in the Agent.
If you have any questions or problems, please do not hesitate to contact support. We’re here to help!
